You’ve probably heard about the Nintendo Switch – from its inventive design down to the wide variety of games that it offers. If you are planning to buy one, we’ve rounded up some tips to help you get started.
Ready for the Nintendo Switch 101? Let’s go – first things first:
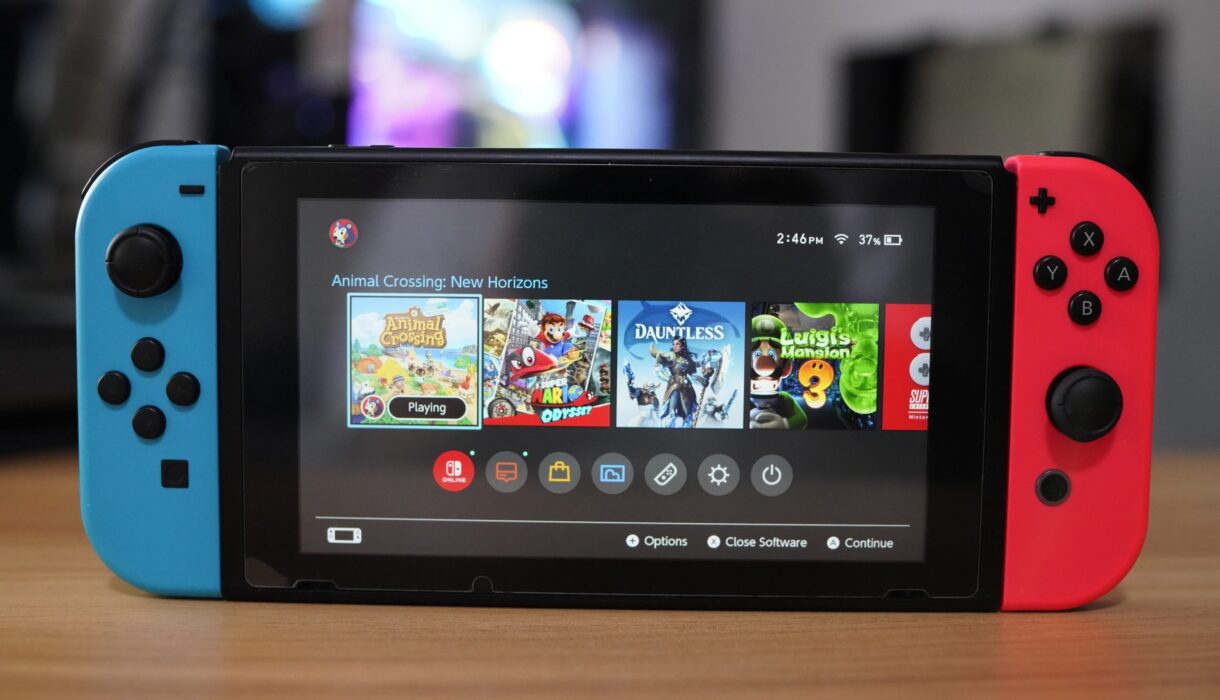
What is a Nintendo Switch?
The Nintendo switch is a versatile gaming gadget, which can be used as a home console or a handheld device.
This means that it is powerful enough to perform just like a home console but portable enough to work as a handheld gaming gadget.
The Nintendo Switch comes with a dock for TV connection and removable Joy-Con™ controllers for two-player games.
Now that we’ve covered the basics of a Nintendo Switch, let’s dig in further.
Nintendo Switch SD Card

Originally, the Nintendo Switch comes with 32GB on-board memory but users can add more storage to the console with a memory card. Upgrading memory using an SD card is highly recommended especially for gamers who want to own a bunch of Nintendo Switch games or for those who want to download their games digitally.
If you take regular videos and screenshots of your virtual adventures, you may have to invest in a Nintendo Switch SD card. Fortunately, the Nintendo Switch has micro SD card slots to make memory expansion easier.
The Nintendo Switch can accommodate micro SD cards up to 2TB space, although the largest size available on the market is 256GB. The SD card slot of the Nintendo Switch is located at the back of the gadget, on the bottom left side.
How to Charge Nintendo Switch

For the past years, Nintendo has been firm on using its own proprietary charging ports. Fortunately, Nintendo has adapted to USB-C for the Nintendo Switch charger.
The Nintendo Switch is the first device to charge over a standard connector. This makes the Nintendo Switch easier to charge while on the go. Plus, there’s also an option to charge the Nintendo Switch using a standard external battery pack.
It is worth noting though, that the Nintendo Switch only includes the primary charging dock in the original package. In short, don’t expect to get free USB-C cables in the package.
It’s a good thing that USB-C cables are as popular as a set of gums in a convenience store, so it won’t be difficult to get one for yourself (if you don’t already have one).

The Nintendo Switch charging port is located at the bottom of the device. Meanwhile, the Nintendo Switch charging dock is easy to use, simply position the screen of the Nintendo Switch against the wall of the charging dock and you’re all set.
What if the Nintendo Switch won’t charge?
If your Nintendo Switch won’t charge, don’t fret.
Try to do a hard reset first, by holding down the power button for around twelve seconds. After doing so, press the power button once again and see if it’s charging.
If this hack won’t work, try to use another wall outlet. You can also try using another Nintendo Switch AC adapter. As much as possible, try to use an official Nintendo Switch AC or power adapter to avoid any issues to arise.
Nintendo Switch Screen Protector
Devices need some TLC, especially handhelds, and the Nintendo Switch is not an exception.
If you are looking for a good Nintendo Switch protector, we’ve rounded up some goodies for you:
- amFilm Tempered Glass Screen Protector (2-pack)
- Celicious Anti-Spy Screen Protector Film
- Orzly Tempered Glass Screen Protector (2-pack)
- Hestia Goods Tempered Glass Screen Protector (3-pack)
- Maxboost Nintendo Switch Screen Protector (3-pack)
How to put a screen protector on the Nintendo Switch? It’s just like putting a screen protector on your mobile phone.
- First, wipe the screen using the included moist cloth to rid of any dirt (fingerprints, dust, etc.)
- Open the packet of dry cloth to wipe the screen.
- Align the tempered glass protector to the Nintendo Switch screen.
- Use a masking tape to secure its position.
- Lift the tempered glass and remove the protective sheet of the tempered glass.
- Drop the tempered glass and then press the center of the tempered glass and it will automatically stick to the screen.
- Remove the masking tape.
- Remove excess bubbles by pressing down the tempered glass in an outward direction.
Nintendo Switch Won’t Turn On
This issue is somewhat related to non-charging. If a Nintendo Switch won’t charge, then it most probably won’t turn on. If you’ve already tried to perform the hard reset but to no avail, you can try the following:
Try to check the power adapter for damage. We also suggest looking inside the USB-C plug and checking for any bent pins. Frayed cables also play a big role in faulty charging, resulting in a dead device. If you notice any defects as mentioned above, do not use the adapter as it could already be dangerous and cause a fire hazard.
There are also instances when a Nintendo Switch won’t turn on because it has been heavily drained or left for days without a battery. This is quite a basic concept of lithium-ion batteries so we suggest that you leave the gadget charging for at least two hours and check for any signs of life.
If none of those hacks manage to turn on the Nintendo Switch, the best thing you can do is call Nintendo directly for repairs.
What is Nintendo Switch Family Plan
The Nintendo Switch Family Plan is a paid membership that gives up to eight Nintendo Account holders access to the Nintendo Switch Online service for 1 year.
With the Nintendo Switch Family Plan, members of the group can enjoy exclusive online services and access to online multiplayer features. Members can also access a library with more than 60 NES and SNES games, special offers on games and hardware, cloud storage for game data and voice chat via a smartphone app.
The Nintendo Switch Family Plan can accommodate up to eight individuals in total. Each Nintendo Switch Family Plan has an admin which can solely add or remove members from the group.
Children aged 13 and below can still be added to the group as long as the admin is aged 18 and above.
The Nintendo Switch Family Plan costs $34.99 which is a really good deal – 8 individuals can enjoy the perks of Nintendo Switch Online Service.
How To Connect WiFi on Nintendo Switch – Wireless Version

To connect your Nintendo Switch to WiFi, make sure to place it within 10 feet of your WiFi router. This is to guarantee that you get a strong, wireless signal.
Turn on the console and open the HOME menu.
Choose Internet, and then select Internet Settings.
The Nintendo Switch will then automatically search for nearby WiFi signals. Choose your network name from the results.
How To Connect WiFi on Nintendo Switch – Wired Version
Before anything else, make sure that the Nintendo Switch is in TV mode to connect using wired connection.
Connect a wired LAN adapter to the dock of the Nintendo Switch.
Connect an Ethernet cable to the LAN adapter and connect the other end to a gateway or router.
Position the Nintendo Switch console into its proprietary dock.
On the Nintendo Switch console, go to System Settings.
Select Internet -> Internet Settings. Nintendo Switch will then automatically search for nearby WiFi signals.
Select Wired Connection -> Connect to the Internet via Wired Connection.
Nintendo Switch will then test the internet connection. Once the test is successful, choose OK.
Nintendo Switch Bluetooth Adapter

Nintendo Switch has no Bluetooth feature so users need to purchase a Bluetooth adapter to enjoy Bluetooth functions.
We’ve rounded up our recommendations for Nintendo Switch Bluetooth adapter:
- Hycarus Bluetooth 5.0 Audio Transmitter
- Gulikit Bluetooth Audio Transmitter
- Friencity Bluetooth Audio Transmitter
..and that concludes our Nintendo Switch basic beginners guide. We hope we shared enough information to give you a solid background on the Nintendo Switch. Enjoy and happy gaming!